Level-access, low-profile and raised shower trays for timber, screed and solid floors, with gravity and pumped waste options, slip-resistant surfaces and ramps for more challenging installations.
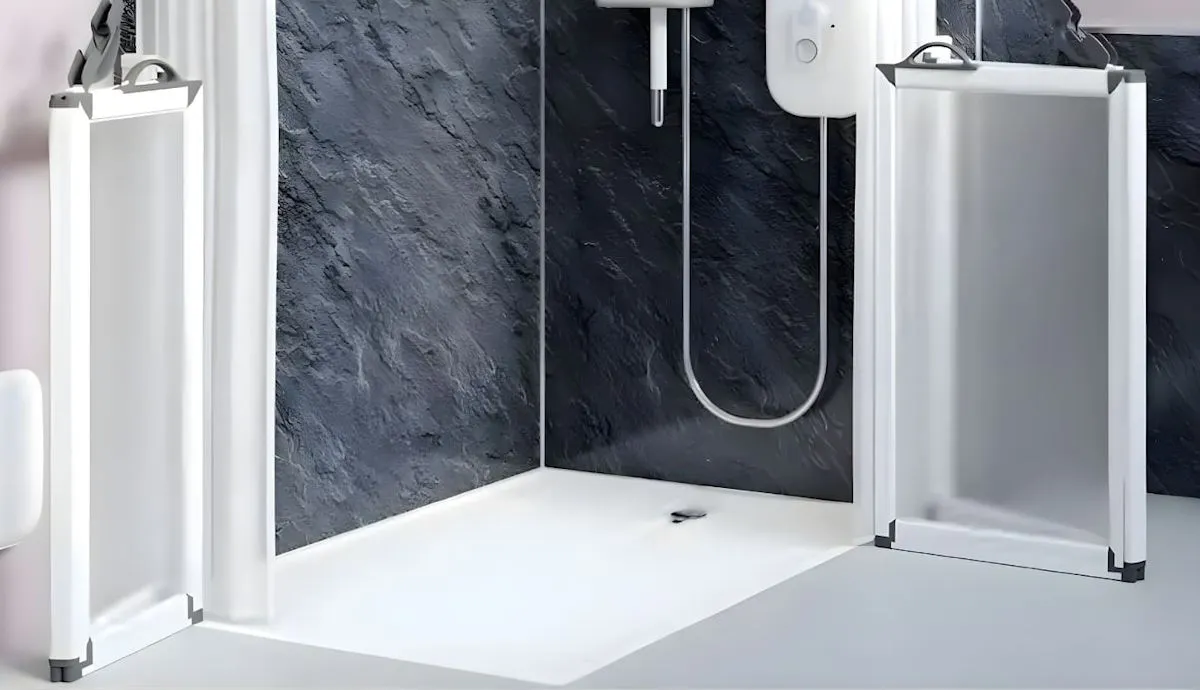
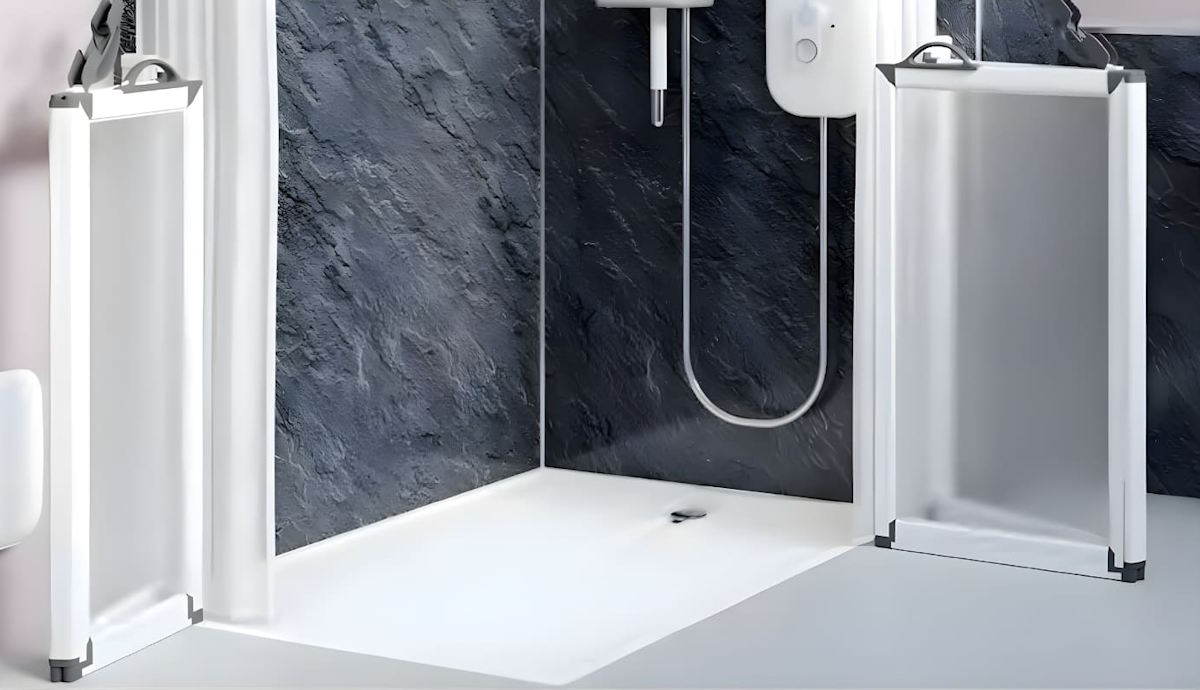
Level accessRecess the tray to create a flush or barrier-free entry
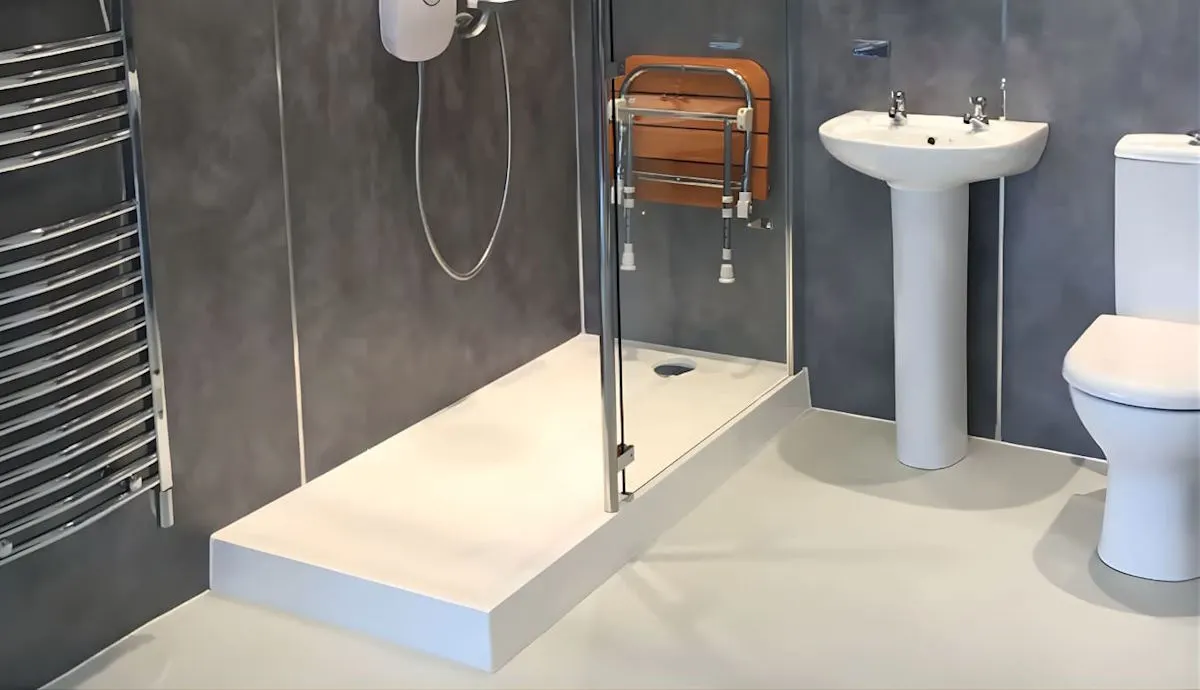
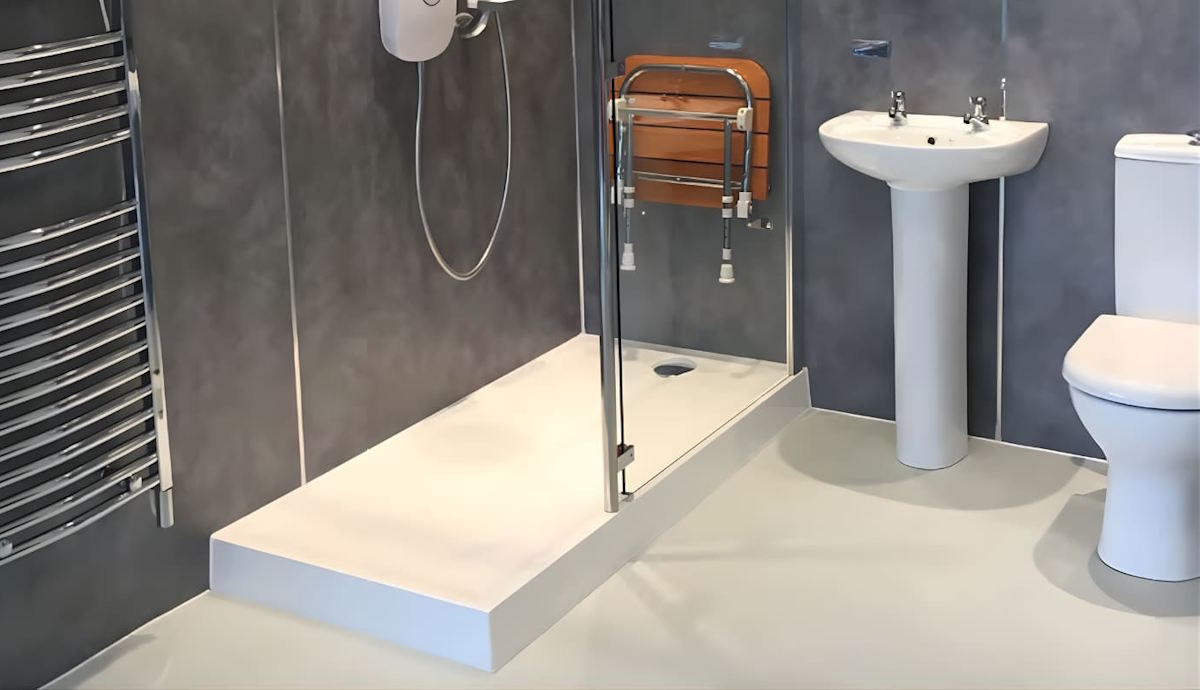
Low profile Keep the threshold small where full recessing is impractical
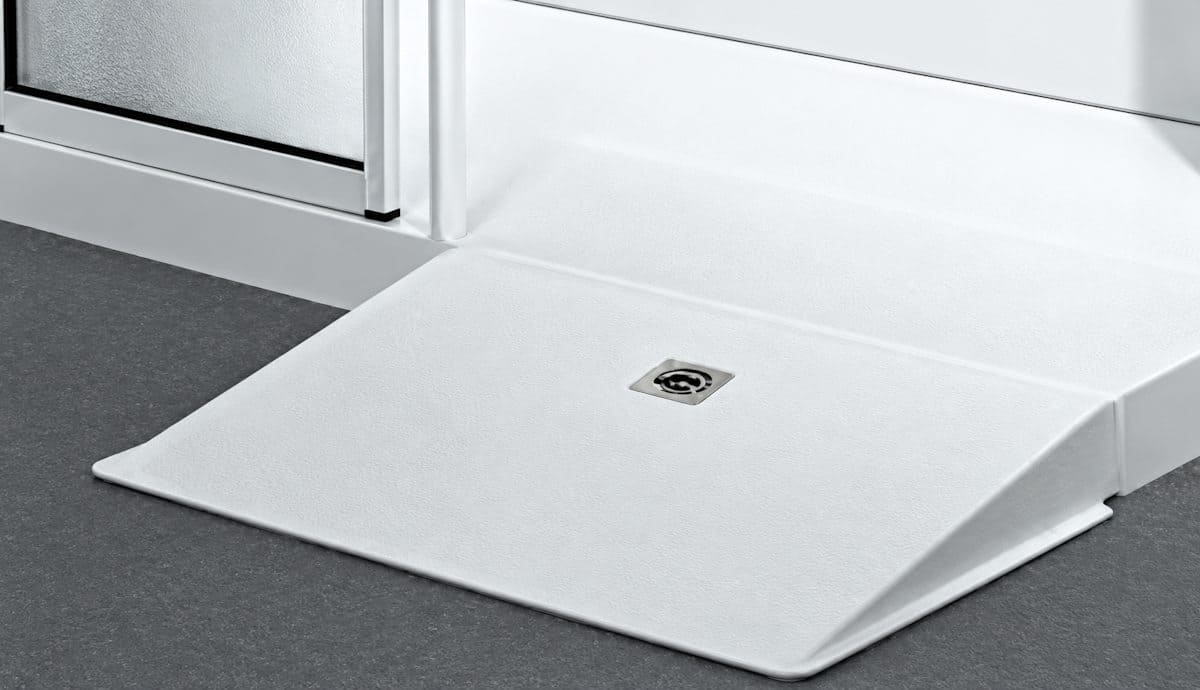
Step-in / ramped Keep services above an unbreachable floor when necessary
Multiple access levels From fully recessed installations to low-profile and raised trays.
Defined showering area Preformed trays contain falls and drainage within a clearly defined footprint.
Gravity & pumped wastes Different drainage routes help solve a wider range of floor conditions.
Accessible retrofit options Suitable products are available for timber, screed and difficult solid floors.
Start with the finished floor
The tray thickness is not necessarily the step the user experiences
A shower tray may be manufactured 26mm, 27mm or 40mm thick and still create level access if the floor can be recessed sufficiently to receive it.
Install the same type of tray on top of the floor and it becomes a low-level threshold instead. Semi-recessing can create a position between the two.
That means the correct starting point is not simply the product name. It is the floor construction, the amount of recess available, the drainage route and the finished access requirement.
Specify in this order
Let the building determine the tray
01
Decide the finished threshold
Fully level, low profile, stepped or ramped.
02
Inspect the floor
Timber, screed, concrete or a floor that cannot be breached.
03
Plan the waste route
Confirm whether gravity drainage is practical or whether a pumped solution is required.
04
Choose the footprint
Match tray size, waste position and entry configuration to the enclosure and available circulation space.
Think in finished thresholds
From no step to a fully raised tray
These figures describe useful examples from the current range, not a universal rule for every shower tray.
0mm
Level access
Recess the tray into the floor
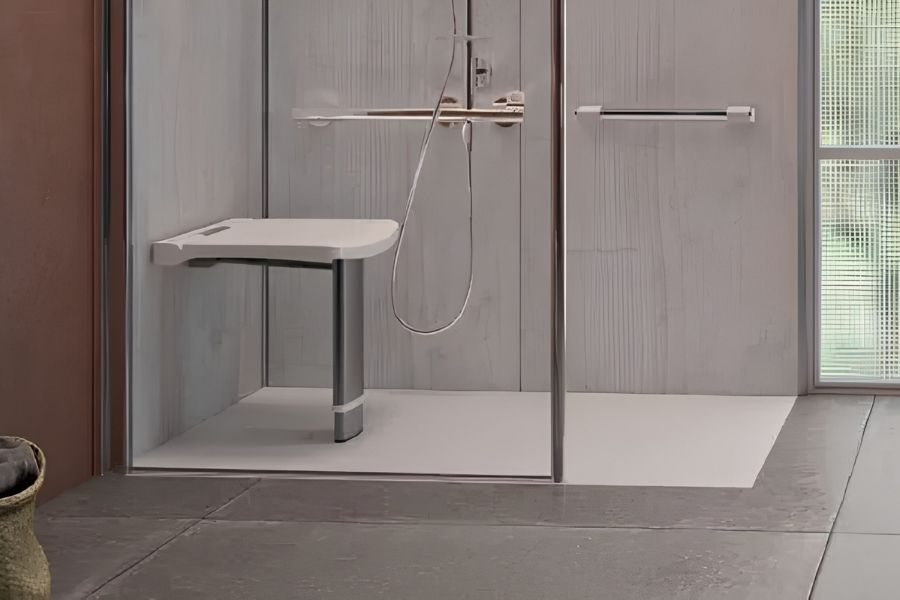
The tray is set into the floor structure so its usable entrance is flush with the surrounding finish. This is the preferred tray approach where wheelchair access and the smallest possible threshold are priorities.
20–40mm
Typical low-level examples
Partially recess or surface mount
Products such as Braddan can be semi-recessed or surface mounted, while slim trays such as Onyx, Mullen and Roman products create relatively modest transitions when fitted above floor level.
90–110mm
Raised Sulby examples
Keep the waste above an unbreachable floor
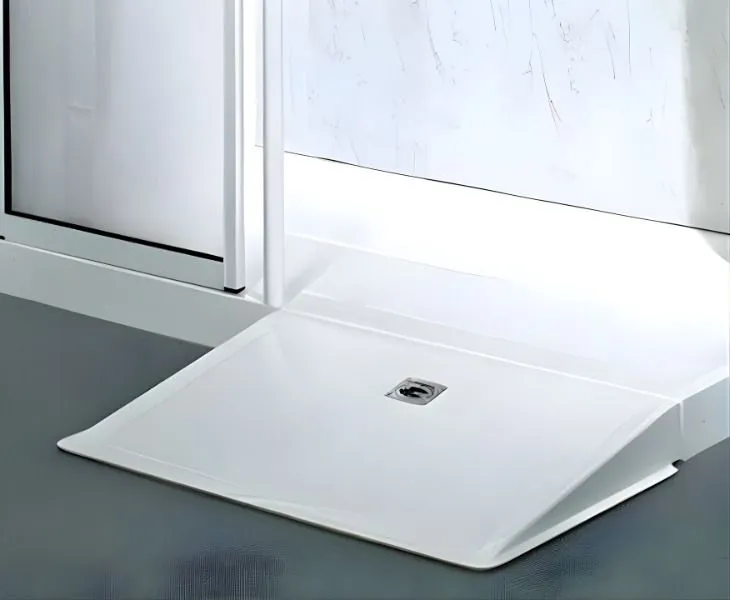
AKW Sulby trays contain the waste and pipework within the raised tray structure, allowing installation where penetrating the floor for conventional drainage is not practical.
Start here
Shop shower trays by finished access requirement
Choose a recessed tray for barrier-free entry, a low-profile installation where major floor alteration is unnecessary, a raised tray for difficult floors, or add a compatible ramp or step to manage an unavoidable change in level.
A 40mm tray does not automatically mean a 40mm step
The AKW Braddan is a useful example. Its tray body is 40mm thick, but the same family can be installed at different depths depending on the floor and required accessibility.
0mm
Fully recessed Set the complete tray depth into the floor for level access.
~20mm
Semi-recessed Recess part of the tray where full depth is unavailable, leaving a reduced threshold.
40mm
Surface mounted Keep the tray above floor level where altering the floor structure is undesirable.
Compare the finished installation
Which access strategy fits the project?
The correct choice depends on the user and the building. The lowest threshold is not always the easiest construction route.
Consideration
Level Access
Low Profile
Step In / Ramped
Finished threshold
Flush or effectively barrier free when correctly recessed.
Small raised transition above the surrounding floor.
Deliberately raised, with optional step or ramp depending on system.
Wheelchair access
Best tray-based route for direct wheeled entry.
Depends on the remaining threshold and user.
Requires a suitable compatible ramp for wheeled access.
Floor work
Requires sufficient recess and drainage provision.
Usually requires less alteration when surface mounted.
Can avoid breaching the floor for selected systems.
Defined shower area
Yes.
Yes.
Yes, with a more pronounced tray edge.
Typical application
Accessible bathrooms and wheelchair-friendly showering.
Retrofit bathrooms and reduced-mobility applications.
Difficult solid floors and projects where below-floor drainage is restricted.
The building is part of the specification
Timber, screed and unbreachable floors create different opportunities
Do not choose the tray in isolation from the floor beneath it. Recess depth, joists, waste position and the ability to route pipework all influence the finished access level.
01
Timber floors
Floorboards can often be removed or altered to receive a shallow recessed tray, but joist positions and the waste route need to be checked before choosing the tray dimensions and handing.
02
Screed / concrete floors
Recessing can still be possible, but the amount of structural work depends on the existing slab or screed. Low-profile surface mounting may provide a simpler retrofit where excavation is undesirable.
03
Unbreachable floors
Where services cannot pass beneath the floor, a raised Sulby tray can contain a side-exit gravity waste above floor level, or selected surface-mounted trays can work with pumped drainage.
Drainage can decide the tray before appearance does
Where can the wastewater actually go?
The floor recess and waste route are closely connected. Check the available depth and pipe route before deciding that gravity drainage will work.
01
Gravity waste
The simplest route where sufficient fall and below-floor depth exist to carry wastewater away naturally from the shower tray.
02
Pumped waste
Selected AKW and Contour trays accept pumped wastes where the drainage route cannot provide the required gravity fall. The corresponding wastewater pump is specified separately where required.
03
Above-floor outlet
Sulby uses the tray height to house its gravity waste and routes wastewater horizontally through one of several side-exit positions, avoiding a conventional floor penetration.
Accessible does not have to look institutional
The current range includes both care-led and design-led shower trays
Accessibility can come from installation geometry rather than a particular visual style. Alongside traditional care trays, the current range includes contemporary slate-effect and colour-coordinated shower bases.
AKW Onyx Exclusif A slim slate-effect tray available in white and black with concealed waste detailing and a 26mm tray body.
Roman anti-slip trays 40mm solid-surface square and rectangular trays with coordinated waste-cover finishes and contemporary enclosure compatibility.
AKW / Contour care systems Braddan, Mullen, Swift and Eagle TWO place greater emphasis on adaptable installation, accessible flooring and specialist drainage.
When the tray has to remain above the floor
Use the correct ramp or step for the remaining threshold
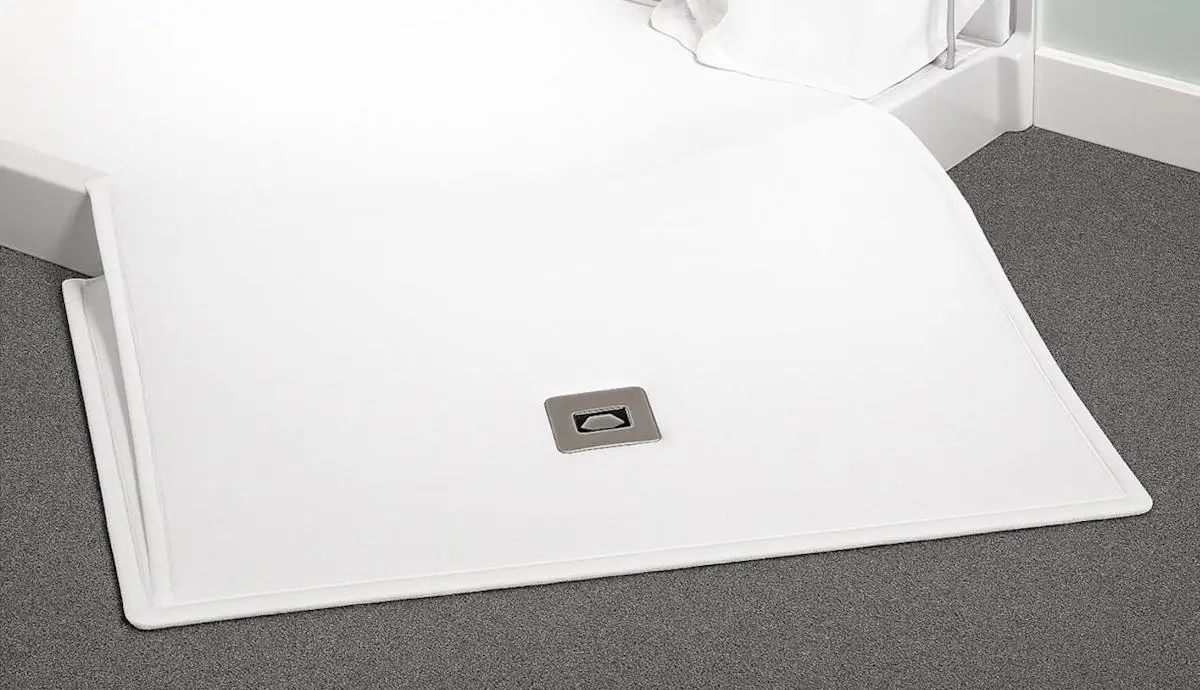
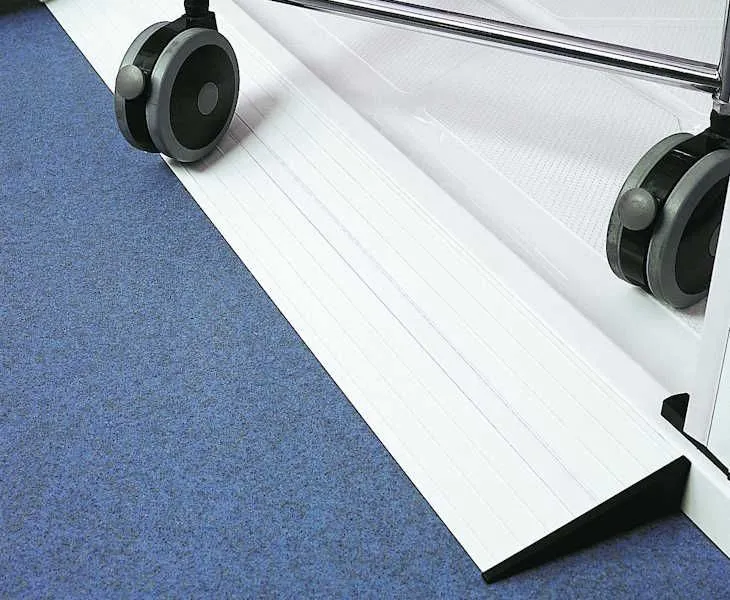
Compatible accessories can make surface-mounted trays easier to approach, but they also require enough surrounding floor space for the ramp gradient and entry route.
20mm / 40mm
Braddan ramps
Straight and corner aluminium ramps can bridge the remaining edge of semi-recessed or surface-mounted Braddan trays and can be cut to suit the installation.
85mm
Sulby ramps
Removable straight and corner ramps provide a wheeled approach to compatible Sulby step-in trays without permanently fixing the ramp to the bathroom floor.
45mm
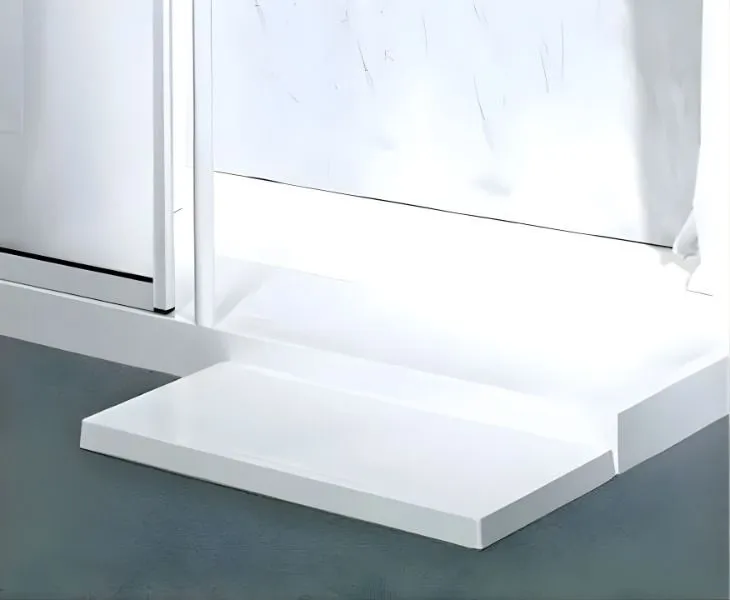
Sulby access step
For an ambulant user who does not require a ramp, the removable step divides the transition into smaller movements when approaching a compatible Sulby tray.
Shower tray
Keep the drainage fall inside a defined shower base
A preformed tray creates a clearly defined showering area and contains its own fall towards the waste. It can be particularly useful where installation simplicity and predictable water containment are important.
Defined footprint: the shower area is visually and physically clear.
Preformed fall: drainage geometry is built into the manufactured tray.
Retrofit options: surface-mounted and semi-recessed configurations can reduce structural work.
Floor former
Build the drainage fall beneath the finished wet-room floor
A floor former becomes part of the floor itself. Tiles, vinyl or another compatible finish continue across the graded shower area, producing a more seamless wet-room appearance.
Seamless access: ideal where an uninterrupted floor is the priority.
Greater layout freedom: the shower can feel integrated into the wider wet-room floor.
More construction: waterproofing, floor finish and drainage become part of the complete wet-room build-up.
Before ordering
Six details to resolve before selecting the tray
Tray size is only one part of the specification. The floor, drainage, enclosure and final floor finish need to work together.
01
Required threshold
Decide whether the user requires completely level access or can comfortably manage a low threshold, step or ramp.
02
Floor construction
Establish the available recess depth and whether joists, concrete or other structural elements restrict alteration.
03
Waste position
Check the outlet against joists, existing pipework and the direction in which gravity drainage needs to fall.
04
Floor finish
Confirm whether the surrounding bathroom uses tiles or vinyl and select the appropriate tray edge, upstands and adaptor system.
05
Enclosure compatibility
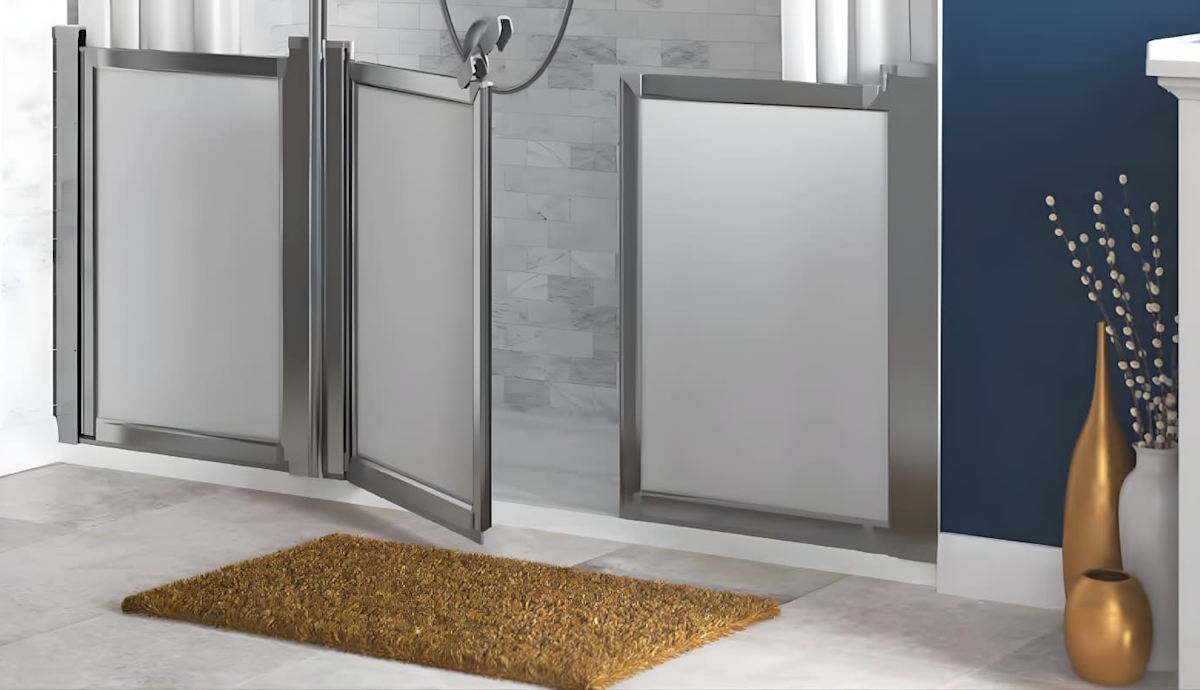
Match tray dimensions and entry configuration to the intended shower doors, screens and curtain arrangement.
06
Point loading
Confirm the tray is suitable for the user and any equipment that transfers concentrated loads through shower seats, stools or mobility aids.
Check the exact tray specification: recess depth, weight limit, waste type, outlet depth, floor-finish compatibility, trimming limits and compatible screens vary by model. Always confirm the current technical and installation information before altering the floor or positioning drainage.
Accessibility School
Floor former or shower tray?
Before choosing the exact tray, make sure a tray is the right construction method for the bathroom. Our practical guide compares shower trays with wet-room floor formers, looking at accessibility, installation complexity, retrofit suitability, flooring, drainage and long-term flexibility.
Choose the tray around the finished access level and drainage route
Recess a tray for the lowest possible threshold, keep it low profile where a simpler retrofit is needed, or use a raised step-in system with compatible ramping when the floor cannot accommodate conventional below-floor drainage.